
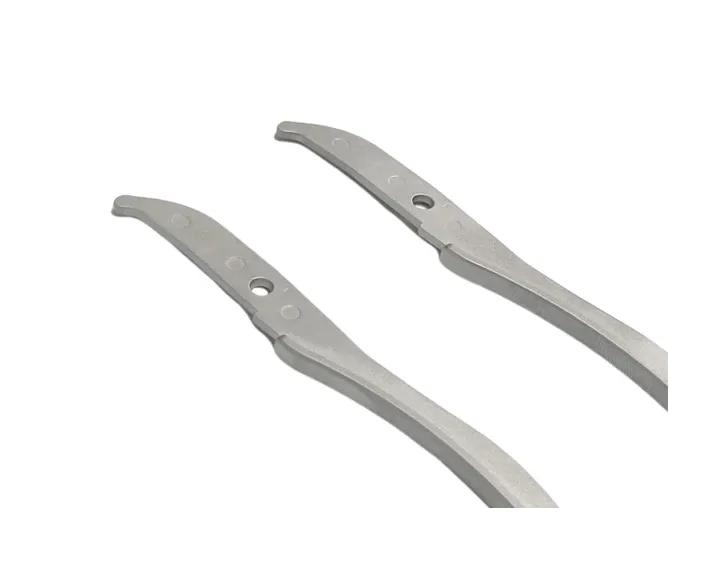
Metal injection molding occupies a unique space in precision manufacturing. It can produce complex geometries that would be costly or impossible to machine, while achieving material properties close to wrought metal. But like every manufacturing process, MIM has practical tolerance ranges and design boundaries that engineers should understand before committing a part to production.
This guide brings together the tolerance ranges, design rules, and specification practices that SINTS engineers use when reviewing customer drawings. Whether you are designing a new part for MIM or evaluating whether an existing design is suitable, these guidelines will help you set realistic expectations and avoid common pitfalls.
Why MIM tolerances differ from CNC tolerances
CNC machining achieves tolerances by removing material from a solid blank with a cutting tool. MIM, by contrast, forms the part from metal powder and binder, then sinters it to near-full density. During sintering, the part shrinks predictably, typically 15 to 20 percent from its molded green state. This shrinkage is controlled and repeatable, but it means that MIM tolerances are influenced by factors that do not apply to machining: powder particle size distribution, binder content, sintering temperature uniformity, and part geometry.
The practical result is that MIM can hold tolerances that are excellent for a net-shape process but not as tight as precision machining on every dimension. For critical features, secondary machining or sizing after sintering can achieve tighter tolerances where needed.
MIM tolerances: review critical features, not one blanket number
Industry tolerance charts can be useful for early concept work, but they should not be treated as a guaranteed capability for every MIM feature. Actual results depend on material, overall geometry, local wall sections, shrinkage direction, datum scheme, tool condition and distortion during sintering.
During DFM, SINTS separates dimensions into three groups: features that can remain as-sintered, features that may need process or tooling compensation, and critical interfaces that should be sized, machined or ground after sintering.
This feature-by-feature approach is more reliable than assigning one percentage or one millimeter tolerance to the whole component.
Wall thickness guidelines
Consistent wall sections generally make molding, debinding and sintering easier to control. Large changes from thick to thin areas can increase fill imbalance, debinding time and distortion risk.
Rather than using one universal minimum or maximum wall thickness, review the local section together with flow length, material, structural function and adjacent features. Thick areas can often be cored or redistributed, while very thin features may require gate, tooling or process changes.
Holes and bores
MIM can form through-holes, blind holes, counterbores and other internal features, but feasibility depends on core-pin strength, ejection direction, hole depth, surrounding wall section and the tolerance required after sintering.
Critical bearing, sealing or mating bores should be identified explicitly on the drawing. SINTS can then decide whether the bore should be molded net-shape, sized, reamed, machined or ground after sintering.
Threads in MIM parts
Threads require careful consideration in MIM design.
- External threads: Can be molded directly in the tool. Half-round or trapezoidal thread forms are preferred. Precision threads may need secondary rolling or machining.
- Internal threads: Typically added as a secondary tapping operation after sintering. Molding internal threads requires unscrewing cores, which increase tooling cost.
- Thread class: Specify the required thread fit and inspection method on the drawing. Precision threads often justify secondary tapping, rolling or machining.
- Chamfers: Add a chamfer at the thread start to prevent flash and improve assembly.
Undercuts and complex features
One of MIM's greatest advantages is its ability to form complex geometries that would be difficult or expensive to machine. However, undercuts require careful design:
- External undercuts: Can often be accommodated with slider or lifter mechanisms in the tool.
- Internal undercuts: More challenging and may require collapsible cores. If possible, redesign to avoid internal undercuts.
- Side holes: Can be molded using side action cores. Position them perpendicular to the parting line for simpler tooling.
- Gear teeth and splines: MIM is excellent for small gears. Helical and bevel gears can be molded, though tooling complexity increases.
Draft angles
Draft helps release the green part from the tool and protects edges and surfaces during ejection. The amount required depends on feature depth, surface texture, tooling direction and green-part strength.
Use the mold-opening direction and parting-line strategy as the starting point. SINTS confirms the required draft during tooling DFM rather than applying one fixed angle to every surface.
Radii and fillets
Sharp corners are problematic in MIM for two reasons: they concentrate stress in the molded part during handling and sintering, and they increase tool wear. Generous radii improve both part quality and tool life.
- Internal corners: Avoid unnecessary sharp internal corners; radius choice depends on local section, tooling and functional clearance.
- External corners: Use an edge break or radius where function allows to improve handling, tooling life and robustness.
- Fillet transitions: Use smooth transitions between large section changes; the appropriate radius is reviewed from the drawing rather than one universal multiplier.
Material impact on tolerances
Different alloys have different feedstock behavior, thermal cycles, shrinkage response and distortion risk. Stainless, low-alloy, soft-magnetic and project-capable specialty materials therefore should not share one tolerance assumption.
Material selection and tolerance review should happen together. If a critical feature is close to the practical as-sintered limit for the selected geometry, secondary sizing, machining or grinding can be planned from the beginning rather than added after sampling.
For current SINTS material status, see the Materials & Alloy Guide.
How to specify tolerances in an RFQ
When submitting a drawing for quotation, the way tolerances are specified directly affects the cost and feasibility of the part. Here are best practices SINTS recommends:
- Mark critical dimensions: Use GD&T or explicit tolerance callouts only on dimensions that matter for function. Over-tolerancing increases cost.
- Provide a 3D model: A STEP or IGES file alongside the 2D drawing helps the engineer understand design intent and identify potential issues early.
- Indicate the application: Knowing how the part functions helps the supplier recommend the right process and tolerance strategy.
- Specify inspection requirements: If certain dimensions require CMM verification or specific gages, note them on the drawing.
- Allow process flexibility: If you can accept secondary machining on critical features, say so. This opens up more manufacturing options and can reduce cost.
Common design mistakes to avoid
In our experience reviewing customer drawings, several design issues appear repeatedly. Avoiding these will save time and cost:
- Over-tolerancing non-critical dimensions: Applying tight tolerances to every dimension forces unnecessary secondary operations.
- Inconsistent wall thickness without transition: Abrupt thickness changes cause distortion and internal stress.
- Sharp internal corners: These lead to cracking during sintering. Always add a fillet radius.
- Ignores parting line: If cosmetic surfaces cross the parting line, visible flash lines may appear. Design with the parting line in mind.
- Very thin, long features: Features like thin blades or pins are prone to distortion during debinding and sintering.
- Missing draft on blind holes: Without draft, the core pin can be difficult to extract, causing green part damage.
When to combine MIM with secondary machining
Many successful parts use MIM for the overall complex geometry and a secondary operation only where function demands tighter local control. Typical examples include precision mating bores, sealing faces, bearing interfaces, threaded features and critical datums.
The goal is not to machine the whole component after molding. It is to keep the geometric and volume advantages of MIM while applying machining or grinding only to the features that need it.
SINTS reviews the drawing feature by feature and can compare this hybrid route with PM, full CNC or another manufacturing process before tooling is committed.
Related Component Families
Use these component-family pages to move from general process guidance to drawing-specific DFM questions.
Mechanism Components
Pivot holes, cam profiles, contact faces and datum relationships show why only critical features need tight control.
Component guide →Shafts, Pins & Plungers
Running diameters, straightness and sliding interfaces often define the secondary-machining plan.
Component guide →Gears & Transmission Components
Bore-to-tooth datums, runout and backlash are functional tolerances rather than generic MIM percentages.
Component guide →Fluid-Control & Dispensing Components
Sealing bores and sliding surfaces illustrate where as-sintered geometry may need finishing.
Component guide →Precision Small Metal Components
A broad set of compact components where datum strategy and tolerance stack matter more than one blanket number.
Component guide →Conclusion
MIM is a powerful process for precision metal parts, but getting the most out of it requires designing within the process's natural capabilities. By following these tolerance guidelines, wall thickness rules, and feature design practices, engineers can create parts that are manufacturable, repeatable, and cost-effective.
The most valuable step is early collaboration. If you send your drawing or 3D model to SINTS during the design phase, our engineering team can review manufacturability, recommend design adjustments, and confirm achievable tolerances before tooling begins. This reduces development time, avoids costly tool modifications, and ensures the final part meets your specification.
Have a drawing to discuss?
Send it to our engineering team. We review tolerances, manufacturability and the features that may require secondary finishing.
Send Drawing for Review